
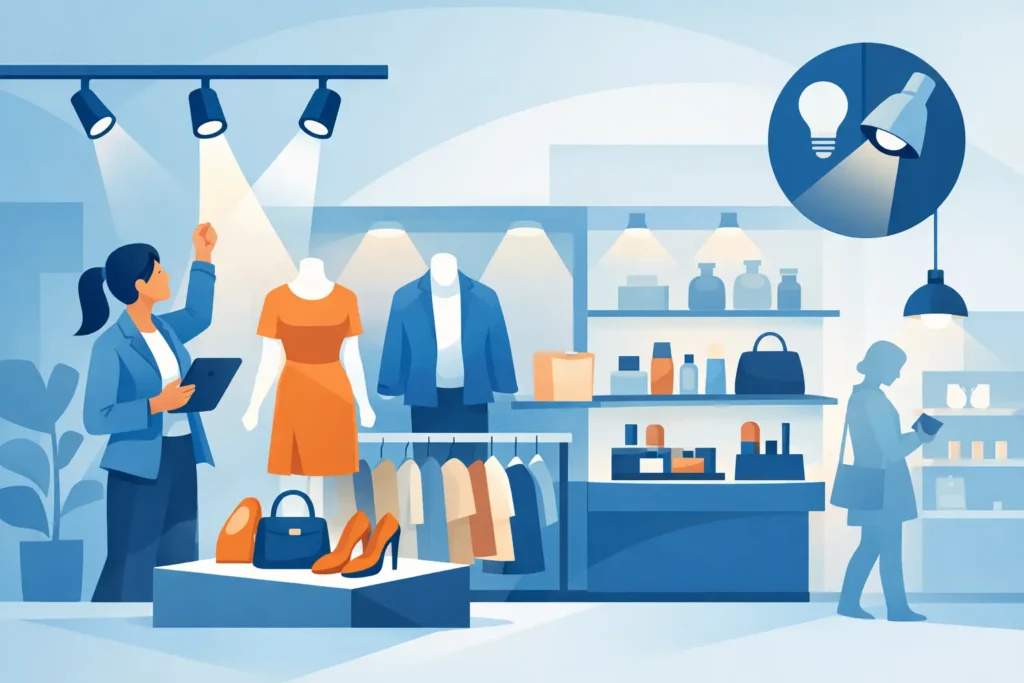
A display can have the right fixture, signage, and product assortment yet still underperform if shoppers cannot immediately see what matters. This retail display lighting guide helps store owners, fit-out contractors, and procurement teams specify lighting that supports product visibility, visual hierarchy, and a more effective selling environment.
Lighting is not simply a finishing item added after shelving is installed. It affects how fresh food appears, how accurately apparel colors are perceived, whether premium electronics look credible, and how easily customers navigate aisles. The most effective scheme combines general illumination with focused accent lighting, then matches the specification to the products, fixtures, ceiling height, and operating hours of the store.
Retail Display Lighting Guide: Start With the Selling Plan
Before selecting a fixture, identify which areas need customers to browse, compare, pause, or purchase. A supermarket aisle needs clear, consistent visibility across long shelf runs. A fashion wall may need focused light that separates key collections from the surrounding store. A jewelry or electronics counter requires controlled highlights that add value without causing distracting reflections.
The lighting plan should follow the merchandising plan. Review gondola locations, wall bays, checkout counters, promotional endcaps, refrigerated cases, digital screens, and branded signage. This prevents a common project issue: installing even ceiling lighting first, then discovering that the best-selling products sit in shadow or that shelf labels are difficult to read.
For commercial projects, distinguish between three working layers of light:
- Ambient lighting provides the base level of illumination for circulation, general shopping, and safe store operation.
- Task lighting supports practical activity, such as checkout transactions, deli preparation, fitting rooms, or stock handling.
- Accent lighting directs attention to merchandise, feature displays, brand graphics, and high-margin product zones.
- Decorative lighting adds character to hospitality-influenced retail areas, premium boutiques, and branded departments.
A store does not need every layer in equal measure. A value supermarket will normally prioritize uniform ambient and shelf lighting, while a cosmetics retailer may allocate more of the budget to precise accent lighting at wall displays and hero fixtures.
Set the Right Brightness for Each Zone
Brightness should be planned by retail zone rather than applying one output level throughout the space. If every surface is equally bright, feature displays lose impact. If the general lighting level is too low, customers may struggle to compare products, read packaging, or feel comfortable spending time in the store.
As a practical principle, ambient lighting creates the visual baseline, while focal areas should be noticeably brighter. Promotional endcaps, new arrivals, premium display cabinets, and branded wall units can use a higher light level to establish contrast. The goal is controlled emphasis, not a series of harsh spotlights competing for attention.
Ceiling height, fixture spacing, surface finishes, and daylight all influence the required output. A dark-ceiling concept store absorbs more light than a retail unit with white walls and reflective flooring. Large storefront glazing can reduce daytime lighting needs near the entrance but can also create glare and uneven contrast. A lighting calculation or on-site mockup is particularly valuable for large-format stores and multi-location rollouts.
Avoid selecting fixtures based on wattage alone. LED efficacy varies, and the useful measure is the delivered light on the merchandise. Ask for lumen output, photometric data, beam distribution, and recommended mounting distance. This gives project teams a more reliable basis for comparing options.
Use Beam Angles to Control Attention
Beam angle determines how widely or narrowly a light spreads. A narrow beam creates a concentrated highlight and suits mannequins, feature tables, wall graphics, and individual premium products. A wider beam covers larger shelf sections, display tables, and general merchandising zones more evenly.
Narrow beams can look effective in a showroom but may create unwanted hot spots if fittings are installed too close to displays. Wide beams reduce contrast when used for focal merchandising. The correct choice depends on fixture height and the size of the target area.
For adjustable track lighting, aim the beam at the front face and upper portion of the display rather than directly into the shopper’s line of sight. On vertical shelving, this helps reveal packaging and shelf-edge messaging without creating deep shadows below each shelf. For glass cabinets, test the angle from the customer’s viewing position to reduce reflected glare.
Choose Color Temperature by Product Category
Color temperature changes the character of a retail environment and the way products appear. It is measured in Kelvin, with lower values producing a warmer appearance and higher values creating a cooler, crisper appearance.
Warm white light, typically around 2700K to 3000K, supports premium fashion, home décor, bakery counters, wine displays, and hospitality-style retail. It can make timber, leather, and warm-toned finishes feel more inviting. However, it may make bright white packaging or cool-colored merchandise appear slightly yellow.
Neutral white lighting, commonly around 3500K to 4000K, is a practical choice for many supermarkets, pharmacies, convenience stores, and general merchandise environments. It provides a clean appearance, good visibility, and a balanced presentation for mixed product categories.
Cooler light, often 4000K and above, can suit electronics, hardware, mobile accessories, and clinical retail settings where a crisp, technical impression is preferred. It should be used carefully in apparel and food areas, where an overly cool appearance can make the environment feel less welcoming.
Consistency matters as much as selection. Mixing color temperatures unintentionally across adjacent aisles, fixtures, or replacement lamps makes a store look poorly maintained. Establish an approved specification for each zone and keep replacement stock aligned with it.
Prioritize Color Rendering, Not Just Brightness
Color rendering index, or CRI, indicates how accurately a light source reveals colors compared with a reference light source. For most retail applications, a CRI of 80 or higher is a sound commercial baseline. Stores selling fashion, cosmetics, fresh produce, jewelry, paint, or branded products with color-sensitive packaging should consider CRI 90 or above.
High color rendering can improve shopper confidence. A customer choosing foundation, fabric, fruit, or finish samples needs to see a credible representation of the product. Lower-quality lighting may save on initial cost but can flatten colors, distort skin tones, and reduce the premium perception of the display.
Food retail deserves special care. Fresh meat, bakery products, produce, and prepared foods each benefit from lighting selected for their visual characteristics. The objective is an appetizing, accurate presentation, not an artificial color effect that disappoints the customer after purchase. Coordinate lighting with refrigerated display equipment, canopy depth, and product rotation requirements.
Integrate Lighting With Fixtures and Signage
The most effective display lighting is integrated into the physical retail environment. Shelf-mounted LED profiles, illuminated poster frames, backlit fabric graphics, cabinet lighting, and track-mounted spotlights all serve different purposes. Selection should reflect the display system rather than treating lighting as an isolated ceiling package.
Shelf lighting is useful when tall gondolas or deep shelves create shadows on lower product levels. It can improve label readability and bring attention to categories with dense packaging. The trade-off is additional wiring, cleaning requirements, and the need to protect fittings from impact during replenishment.
Illuminated signage and backlit graphics work well for department identification, window campaigns, promotional messaging, and brand walls. They provide a consistent visual result and can be especially valuable in shopping malls where neighboring retailers compete for attention. Check service access, graphic-change requirements, and heat management before finalizing the specification.
For high-value merchandise, lighting should also support security and visibility. Well-lit display cabinets make products easier to inspect while helping staff monitor activity around the counter. Reflections from glass, mirrored finishes, and digital screens must be tested early, particularly for electronics and luxury accessories.
Specify Controls for Operating Efficiency
Lighting controls reduce energy use and make the store easier to adapt throughout the day. Dimming is useful for storefront windows, premium zones, and areas that transition from daytime trading to evening operation. Timers can manage opening and closing routines, while occupancy sensors are appropriate for stock rooms, staff areas, and low-traffic service spaces.
Daylight harvesting can be effective near large windows, but only when sensors are commissioned correctly. Poorly configured controls can create visible shifts in brightness or leave window displays underlit during cloudy conditions. Customer-facing zones need stable, intentional illumination.
For chains and multi-site projects, standardize fixture families, color temperatures, drivers, and control protocols where possible. This simplifies maintenance, improves visual consistency, and reduces the risk of mismatched replacements during future store updates.
Plan for Maintenance From Day One
A lighting scheme should remain effective after months of trading, not only on handover day. Specify commercial-grade fittings with accessible drivers, clear warranty terms, and practical replacement procedures. Consider the store’s ceiling access, cleaning schedule, dust levels, refrigeration equipment, and expected daily operating hours.
A lower initial fixture cost can become expensive if replacement requires closing an aisle, renting access equipment, or sourcing a discontinued component. For fit-out teams, it is worth confirming who will maintain the lighting and what spare parts should be retained on site.
The strongest retail lighting decisions come from testing the actual display, not choosing from a catalog image alone. Place sample products on the intended shelf or fixture, view them from the shopper’s position, and adjust before the full installation proceeds. A well-aimed, correctly specified light does more than brighten a store – it gives every display a clearer reason to be noticed.